
5 Signs Your Car Amplifier Is Failing (and How to Diagnose Problems Before They Cost You)
5 Signs Your Car Amplifier Is Failing (and How to Diagnose Problems Before They Cost You)
Your car's amplifier is the powerhouse behind every crisp vocal, punchy bass line, and crystal-clear high note. When it starts failing, your entire audio experience goes downhill fast. The good news? Most amplifier problems show warning signs before complete failure, giving you time to diagnose and fix issues before they cost you serious money.
Whether you're running a basic factory upgrade or a premium JL Audio system, knowing how to spot these five critical failure signs can save your investment and keep your music pumping.
Sign #1: Your Amplifier Won't Power On
Nothing kills the vibe quite like dead silence when you fire up your system. If your amplifier refuses to power on, don't panic: this is often the easiest problem to diagnose and fix.
Start with the basics: Check your inline fuse near the battery first. This small component protects your entire system from electrical surges, and when it blows, your amp gets zero power. Use a multimeter to test for continuity. No continuity means you need a replacement fuse: but don't just swap it out yet.
If you're repeatedly blowing fuses, you've got a deeper issue that needs addressing. A blown fuse is a symptom, not the disease.
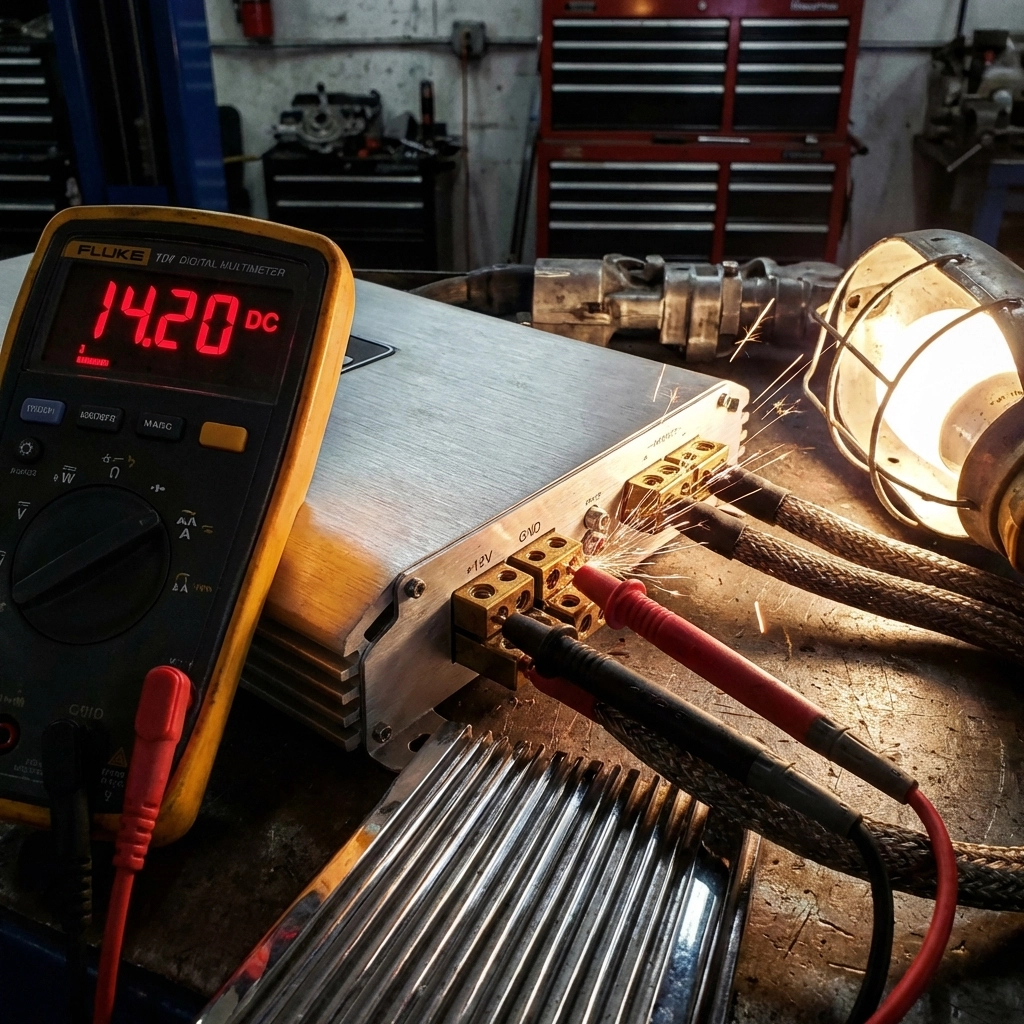
Next, test your power supply: With a multimeter, measure voltage at the amplifier between the ground and positive power terminals. You should see battery voltage (around 12.6V with the engine off, 13-14V running). No voltage usually means a loose or disconnected power wire somewhere in your installation.
Pro tip: Many DIYers forget about the remote turn-on wire. This small signal wire tells your amp when to wake up. If it's disconnected or getting no signal from your head unit, your amp stays asleep even with perfect power connections.
Sign #2: Protection Mode Keeps Activating
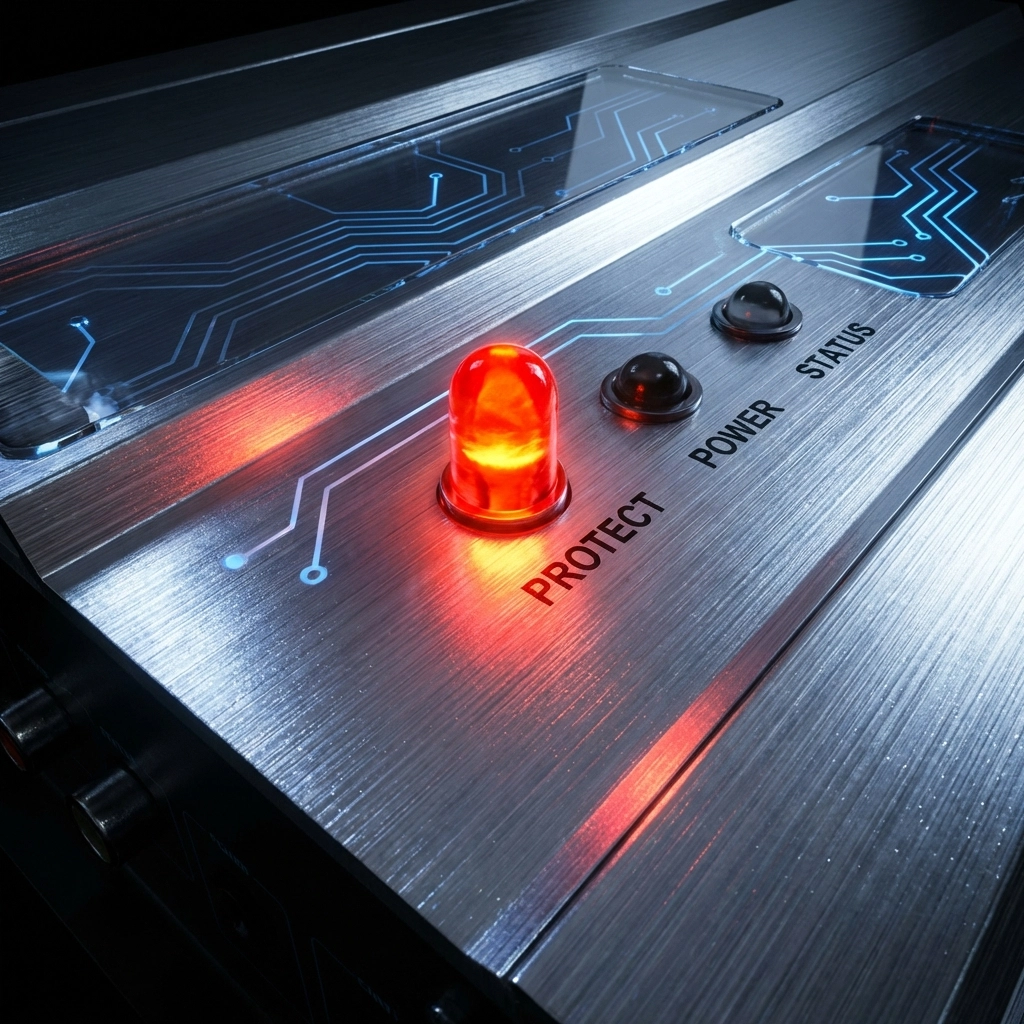
Modern amplifiers are smart: they protect themselves when something's wrong. If your amp constantly shuts down into protection mode (usually indicated by a red LED), it's trying to tell you something important.
Thermal protection is the most common culprit. Your amp generates heat during operation, and if cooling isn't adequate, it shuts down to prevent damage. Check your installation location: is your amp mounted under a seat with no airflow? Crammed into a tiny space? Premium brands like JL Audio design their amps for specific thermal requirements, so proper mounting is crucial.
To diagnose protection mode issues:
- Disconnect all speaker wires and RCA inputs from the amplifier
- Turn the system on
- If the protection LED stays on with nothing connected, your amp has internal damage
- If protection clears but activates after extended play, you have a thermal issue
- If protection happens when driving on rough roads, check for loose connections
Overload protection kicks in when your amp detects a short circuit or impedance mismatch. This often happens when speaker wires touch each other or ground out against metal in your vehicle. Double-check all your speaker connections at both the amp and speaker ends.
Sign #3: No Audio Output Despite Power
Your amp powers on, lights look normal, but silence fills your cabin. This frustrating scenario usually points to signal or speaker connection problems rather than amplifier failure.
Test your signal path first: Swap your RCA cables with known working ones. Faulty or grounding RCA cables are responsible for countless "dead amp" diagnoses. If swapping cables restores sound, you've found your culprit.
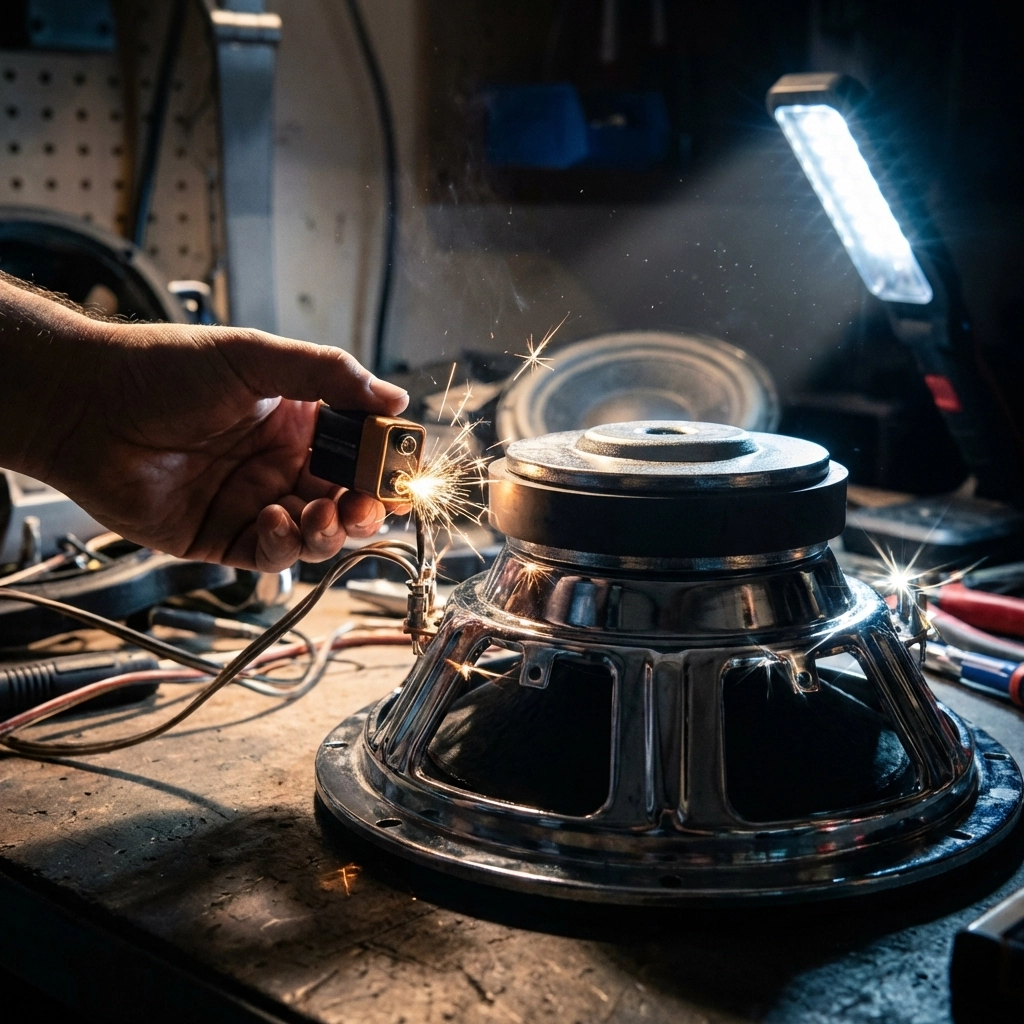
Speaker wiring deserves scrutiny next: Use a 9-volt battery to test each speaker independently. Touch the positive and negative battery terminals to the speaker's positive and negative leads: a working speaker will produce a distinct click sound. No click means a blown speaker or wiring issue.
Check your ground connection: A poor ground can cause all sorts of weird behavior, including no audio output. Your ground wire should connect to bare metal (not painted surfaces) with a secure bolt connection. Many installers use existing bolts, but dedicated ground points work better.
Sign #4: Excessive Distortion or Clipping
Crystal-clear audio turning into a muddy, distorted mess signals either amplifier problems or installation issues. The key is determining which one you're dealing with.
Gain settings are usually the first suspect: Many enthusiasts crank the gain control thinking it's a volume knob: it's not. Gain controls input sensitivity, and setting it too high causes clipping distortion even at moderate volumes. Proper gain setting requires either an oscilloscope or careful ear tuning with familiar music.
Test with different source material: If distortion only occurs with certain songs or at specific frequencies, your amp might be fine. Bass-heavy tracks can push amplifiers beyond their limits, especially if you're running subwoofers without a proper enclosure.
Speaker matching matters: Running speakers below your amp's minimum impedance rating causes stress and distortion. Check your speaker specifications against your amplifier's recommended load. Mixing different speaker brands or types can create impedance mismatches that sound terrible and damage equipment.
Sign #5: Declining Sound Quality
Subtle degradation in sound quality often precedes complete amplifier failure. This gradual decline makes it tricky to diagnose since you might not notice day-to-day changes.
Listen for specific symptoms:
- Weak bass response compared to when newly installed
- Harsh or brittle high frequencies
- Reduced overall volume despite identical settings
- Intermittent crackling or popping sounds
Connection degradation tops the list of sound quality killers. Corrosion, loose terminals, and oxidation build up over time, especially in marine environments or humid climates. Remove and clean all connections annually, applying dielectric grease to prevent future corrosion.
Internal component aging affects all electronics eventually. Capacitors dry out, resistors drift in value, and solder joints develop micro-cracks. Premium amplifiers from brands like JL Audio typically last longer due to better components and construction, but even the best equipment ages.
Additional Warning Signs That Spell Trouble
Beyond the main five signs, several other symptoms demand immediate attention:
Repeatedly blown fuses indicate serious internal problems requiring professional repair or replacement. Don't keep installing larger fuses hoping to solve the problem: you'll likely cause fire or equipment damage.
Strange noises like popping, buzzing, or crackling (especially when adjusting controls) suggest failing internal components. These sounds often precede complete failure by weeks or months.
Burning smells or visible smoke require immediate shutdown and disconnection. These symptoms indicate catastrophic failure that could damage your entire system or create safety hazards.
Professional vs. DIY Diagnosis
Many amplifier problems fall within DIY diagnostic capabilities, but knowing when to call professionals saves time and money. Simple issues like blown fuses, loose connections, or incorrect settings are perfect DIY projects.
Complex problems involving internal component failure, thermal management redesign, or impedance matching calculations might require professional expertise. DIY Customs Store carries diagnostic tools and replacement components for most common amplifier issues.
Prevention Beats Repair Every Time
Proper installation prevents most amplifier failures. Follow manufacturer specifications for power, ground, and signal connections. Ensure adequate cooling and protection from moisture. Use quality components: cheap RCA cables and inadequate wiring cause more problems than they solve.
Regular maintenance catches problems early. Annual connection cleaning, visual inspection for damage, and performance checks keep systems running smoothly for years.
When replacement becomes necessary, consider upgrading to current technology. Modern amplifiers offer better efficiency, more features, and improved reliability compared to older units. Check the outlet clearance section for deals on premium brands.