
7 Mistakes You're Making with Car Audio Installation (and How to Fix Them in 2026)
7 Mistakes You're Making with Car Audio Installation (and How to Fix Them in 2026)

Car audio installation mistakes can turn your dream sound system into a nightmare of distorted audio, blown components, and electrical headaches. After helping thousands of DIY enthusiasts through installations with our 280,000+ SKU inventory, we've seen these same seven mistakes repeatedly sabotage otherwise perfect builds.
Whether you're upgrading to premium JL Audio components or building your first system with Kicker speakers, avoiding these pitfalls will save you time, money, and frustration in 2026.
1. Choosing the Wrong Components for Your Vehicle
The Mistake: Grabbing the most powerful amplifier or biggest subwoofers without considering your vehicle's specific requirements and limitations.
Why It Happens: Online specs look impressive, but vehicle acoustics, electrical systems, and physical space constraints vary dramatically between a compact sedan and a full-size truck.
The Fix: Start with your vehicle's specifications, not the components. Compact cars typically accommodate 4-6 inch speakers effectively, while SUVs and trucks can handle larger drivers and more powerful amplifiers without overwhelming the cabin space.
For vehicle speaker upgrades, measure your existing speaker openings and research mounting depth requirements. A Pioneer 6.5-inch component set might be perfect for your Honda Civic's doors, but those same speakers could sound thin in a Chevy Silverado that needs 6x9 speakers or coaxial drivers.
Match your amplifier's RMS output to your speakers' power handling capabilities. If your Rockford Fosgate speakers handle 100W RMS, choose an amplifier that delivers clean power in that range rather than a 500W monster that will either underperform or damage your drivers.

2. Botching Amplifier Installation and Settings
The Mistake: Installing amplifiers without proper gain adjustment, inadequate cooling, or mismatched power requirements.
Why It Happens: Many DIYers assume louder equals better, cranking gain controls to maximum without understanding how amplifiers actually work.
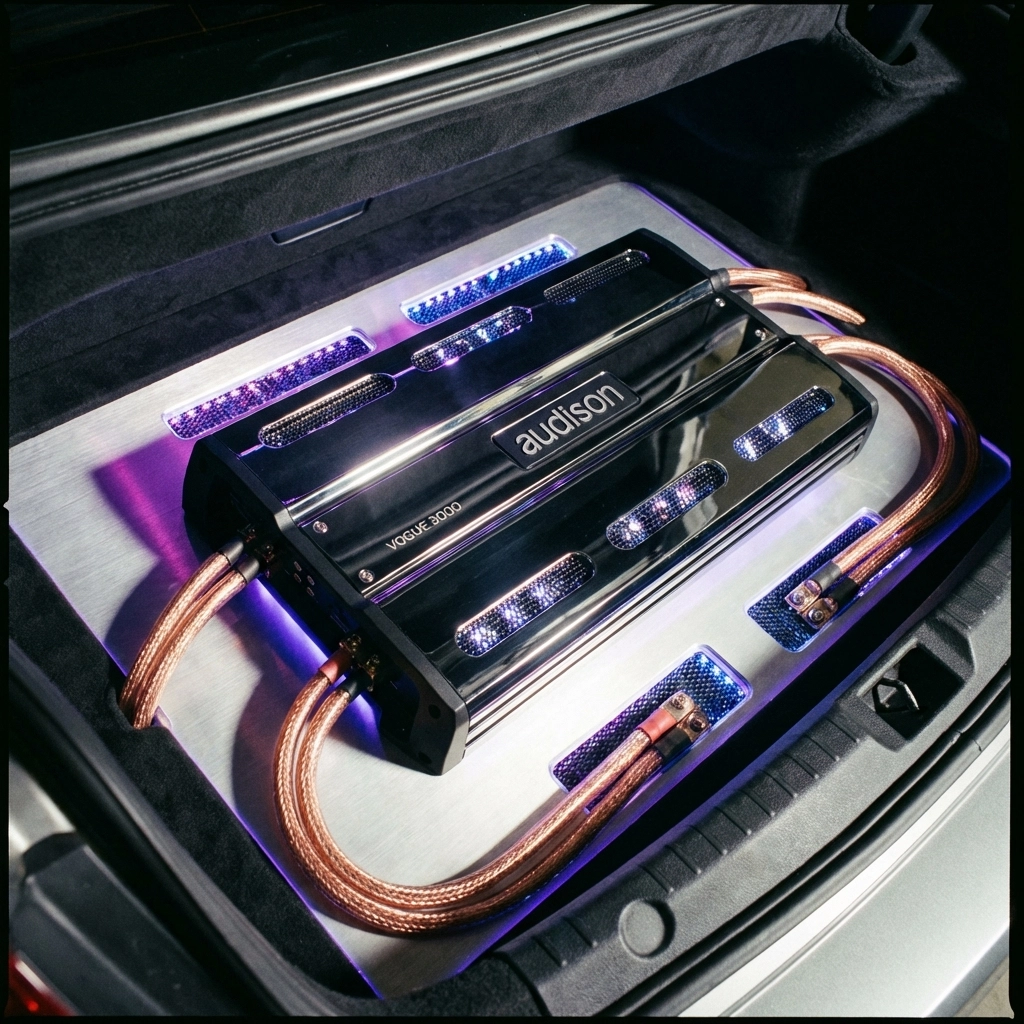
The Fix: Proper amplifier installation guide principles start with location and airflow. Mount amplifiers in areas with adequate ventilation, away from direct heat sources. Under seats works well for smaller amps, while larger units need trunk or cargo area mounting with proper air circulation.
Set gain controls properly using a multimeter or oscilloscope, not by ear. Start with gains at minimum, play familiar music at moderate volume, then slowly increase gain until you hear clean, undistorted output. When you detect any distortion, back off the gain slightly.
For multi-channel systems, adjust each channel independently. Your JL Audio subwoofer amplifier requires different gain settings than your door speaker channels due to frequency response differences and power requirements.
Install appropriate fusing for each power wire. A 1000W amplifier needs different protection than a 200W unit, and proper fusing prevents electrical fires while protecting your investment.
3. Using Cheap Wiring and Poor Connections
The Mistake: Cutting corners on wiring quality, using undersized power cables, or making loose connections that create resistance and signal loss.
Why It Happens: Quality wiring costs more upfront, and connection points seem like minor details compared to flashy amplifiers and speakers.
The Fix: Invest in proper gauge wiring for your system's power requirements. 4-gauge power wire handles most aftermarket systems up to 1000W, while higher-powered setups need 1/0 or 4/0 gauge cables.
Use OFC (oxygen-free copper) wiring when possible. While more expensive than copper-clad aluminum, OFC provides better conductivity and flexibility for car audio installation in tight spaces.
Make every connection count. Strip wire ends cleanly, use proper terminals, and apply electrical contact cleaner before making connections. Loose connections create resistance, voltage drops, and heat that damages equipment over time.
Secure all wiring runs with zip ties or wire loom, keeping power and signal cables separated to prevent noise interference. Run power cables through factory grommets when possible, and always protect wire where it passes through metal panels.
4. Creating Ground Connection Problems
The Mistake: Poor grounding that introduces noise, reduces performance, and creates potential electrical hazards.
Why It Happens: Ground connections seem straightforward, but metal surfaces in modern vehicles often have paint, undercoating, or corrosion that prevents proper electrical contact.
The Fix: Choose solid metal mounting points for ground connections, avoiding painted surfaces or thin metal panels. Battery negative terminal, engine block mounting bolts, or chassis ground points work well.
Clean ground connection points thoroughly. Remove paint with sandpaper, clean with electrical contact cleaner, and apply electrical grease to prevent corrosion. A clean, tight ground connection eliminates most electrical noise issues.
Keep ground wire runs as short as possible. Long ground cables increase resistance and pickup noise. Multiple amplifiers should each have dedicated ground connections rather than sharing a single ground point.
Use star grounding techniques for complex systems. Connect each component's ground to a central distribution point, which then connects to vehicle ground. This prevents ground loops and reduces noise in multi-amplifier installations.
5. Skipping Soundproofing and Vibration Control
The Mistake: Installing expensive audio components without addressing road noise, panel vibration, and acoustic treatment.
Why It Happens: Soundproofing feels like extra work when you're excited to hear your new Kenwood head unit and Kicker speakers, but untreated panels and excessive road noise mask system improvements.
The Fix: Apply sound deadening material to door panels, floor, and trunk areas before installing speakers and amplifiers. Quality dampening products reduce panel vibration that causes rattles and muddy bass response.
Focus on areas where speakers mount first. Door panels benefit most from dampening material applied to the metal skin behind speaker locations. This creates a more solid mounting surface and reduces unwanted vibration.
Add barrier materials to reduce road noise penetration. Closed-cell foam or mass loaded vinyl applied over sound deadening creates acoustic barriers that allow you to hear system improvements rather than fighting highway noise.
Seal speaker openings properly. Foam gaskets between speakers and mounting surfaces prevent air leaks that reduce bass output and allow noise intrusion.

6. Inadequate Component Mounting and Security
The Mistake: Loose mounting that allows components to vibrate, shift, or disconnect during normal driving conditions.
Why It Happens: Aftermarket components often require custom mounting solutions, and factory mounting points may not accommodate larger amplifiers or subwoofer enclosures.
The Fix: Use proper mounting hardware rated for automotive applications. Standard bolts and screws may loosen due to vibration, while automotive-grade fasteners maintain secure connections.
Create solid mounting surfaces for amplifiers and processors. MDF mounting boards distribute weight and provide stable platforms for sensitive electronic components. Secure these boards to multiple vehicle mounting points when possible.
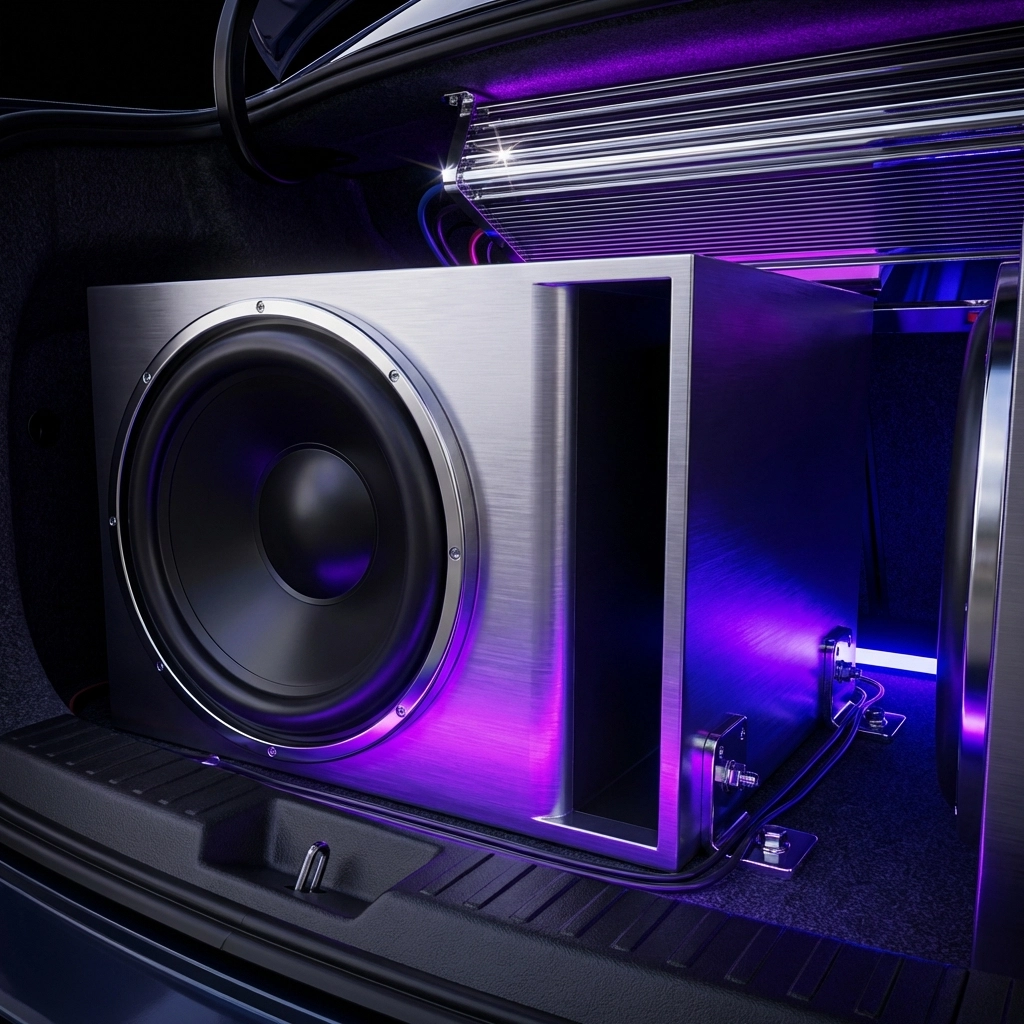
Support heavy components with appropriate brackets. Large amplifiers need mounting that prevents flex and stress on connection points. Subwoofer enclosures require securing that prevents movement during braking and acceleration.
Check mounting security regularly. Vibration loosens connections over time, so periodic inspection prevents component damage and ensures continued performance.
Browse our complete selection of mounting hardware and installation accessories across our 280,000+ SKU inventory at DIY Customs Store for professional-grade mounting solutions.
7. Ignoring Electrical System Compatibility and Safety
The Mistake: Installing high-power systems without considering vehicle electrical capacity, fusing requirements, or integration with factory systems.
Why It Happens: Modern vehicles have complex electrical systems with computer-controlled components that interact in unexpected ways with aftermarket audio equipment.
The Fix: Calculate total system power draw before installation. High-output amplifiers can overwhelm factory alternators and drain batteries, especially during extended listening sessions with the engine off.
Install additional electrical capacity for powerful systems. Secondary batteries, capacitors, or alternator upgrades may be necessary for systems exceeding 1000W total power.
Use proper fusing throughout the installation. Main power fuses protect against catastrophic failures, while individual component fusing isolates problems to specific circuits.
Research vehicle-specific integration requirements. Some vehicles require interface modules to maintain factory features like steering wheel controls, while others need specific wiring adapters for proper installation.
Consider professional installation for complex integrations. While DIY installation saves money, factory warranty concerns and electrical complexity sometimes justify professional expertise.
Getting It Right the First Time
Successful car audio installation starts with proper planning, quality components, and attention to detail throughout the process. These seven common mistakes account for most installation failures, but each one has straightforward solutions when you understand the underlying principles.
Whether you're building your first system or upgrading existing components, focusing on proper component selection, installation techniques, and system integration ensures years of reliable performance from your investment.
Check out our premium brands including JL Audio, Rockford Fosgate, Kenwood, Pioneer, and Kicker at our brands page, where we stock everything needed for professional-quality installations. Don't forget to browse our outlet section for significant savings on premium components with minor cosmetic imperfections.
With proper planning and quality components, your next audio installation will deliver the performance you're expecting without the headaches these common mistakes create.