
Custom Car Audio Checklist: Everything You Need for a Professional Install
Installing a custom car audio system requires planning and the right components. This checklist covers everything needed for a professional-quality installation.
Pre-Installation Planning
Before purchasing components, verify vehicle compatibility. Removing factory head units may disable integrated systems in newer vehicles. Check requirements for dash kits, wiring harnesses, antenna adapters, and steering wheel interfaces.
Decide on system goals. Balanced sound requires quality speakers and proper amplification. Loud output needs powerful amplifiers and subwoofers. Professional-grade systems demand premium components throughout.
Plan amplifier mounting locations. Options include trunk side panels, under seats, or custom enclosures. Verify clearance and ventilation requirements before purchasing.
Essential Tools and Equipment
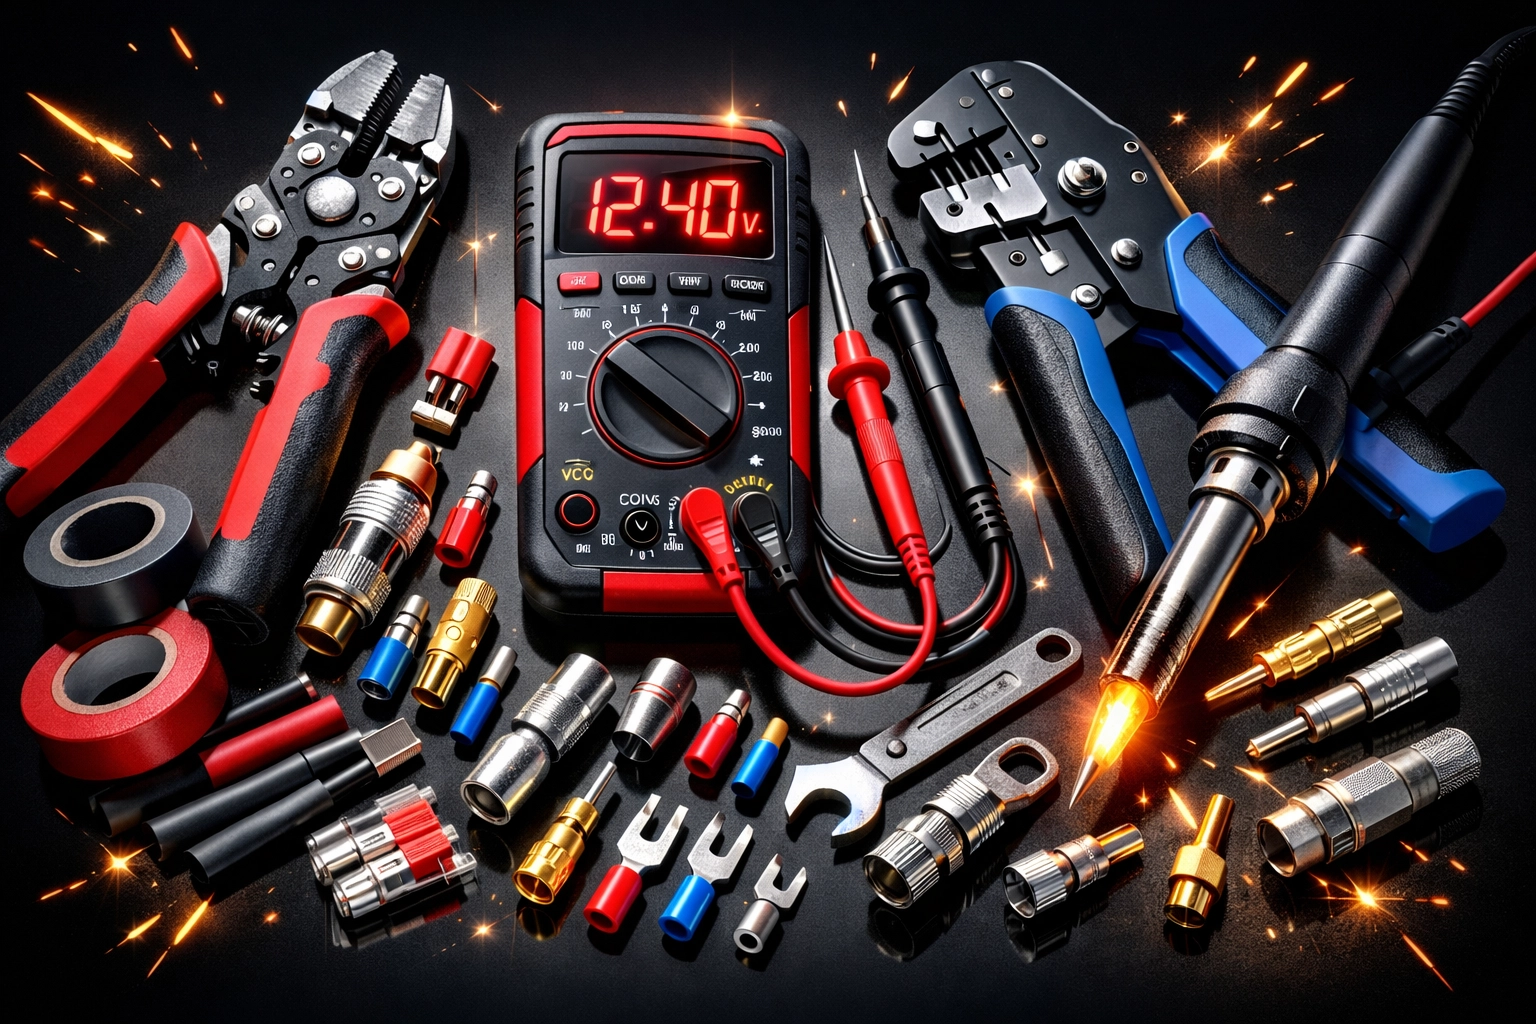
Required Tools:
- Trim removal tools and panel poppers
- Wire strippers and crimpers
- Multimeter for connection testing
- Soldering iron with heat shrink tubing
- Clip removal pliers
- Phillips and flathead screwdrivers
Installation Supplies:
- Speaker wire (appropriate gauge for distance)
- Power supply cables (4-gauge minimum for most amplifiers)
- RCA signal cables
- Ground wire (same gauge as power wire)
- Ring terminals and butt connectors
- Electrical tape
- Fuse holder and appropriate fuses
- Star washers for ground connections
Marine-grade tinned copper wire provides superior corrosion resistance and durability.
Component Selection Checklist
Head Unit Requirements:
- Compatible with vehicle electrical system
- Matches desired feature set (navigation, Bluetooth, Apple CarPlay)
- Proper dash kit for vehicle model
- Wiring harness adapter
- Antenna adapter if required
Speaker Components:
- Front speakers sized for factory locations
- Rear speakers (if upgrading)
- Tweeters with mounting options
- Crossovers for component systems
- Mounting brackets or adapters
Amplifier Specifications:
- RMS power output matching speaker ratings
- Channel configuration (2-channel, 4-channel, or monoblock)
- Appropriate dimensions for mounting location
- Built-in crossovers or signal processing features
Subwoofer System:
- Subwoofer matching enclosure type and size
- Enclosure (sealed or ported based on preferences)
- Amplifier with sufficient power for subwoofer RMS rating
Pre-Installation Steps
Disconnect vehicle battery before beginning work. This prevents electrical shorts and protects vehicle electronics.
Gather all components and verify package contents. Missing items delay installation.
Remove paint or coating at ground connection points. Expose bare metal for optimal electrical contact. Prepare star washers for secure metal-to-metal contact.
Plan wire routing before removing panels. Keep power cables separated from RCA signal cables to prevent interference. Route wires through existing grommets when possible.
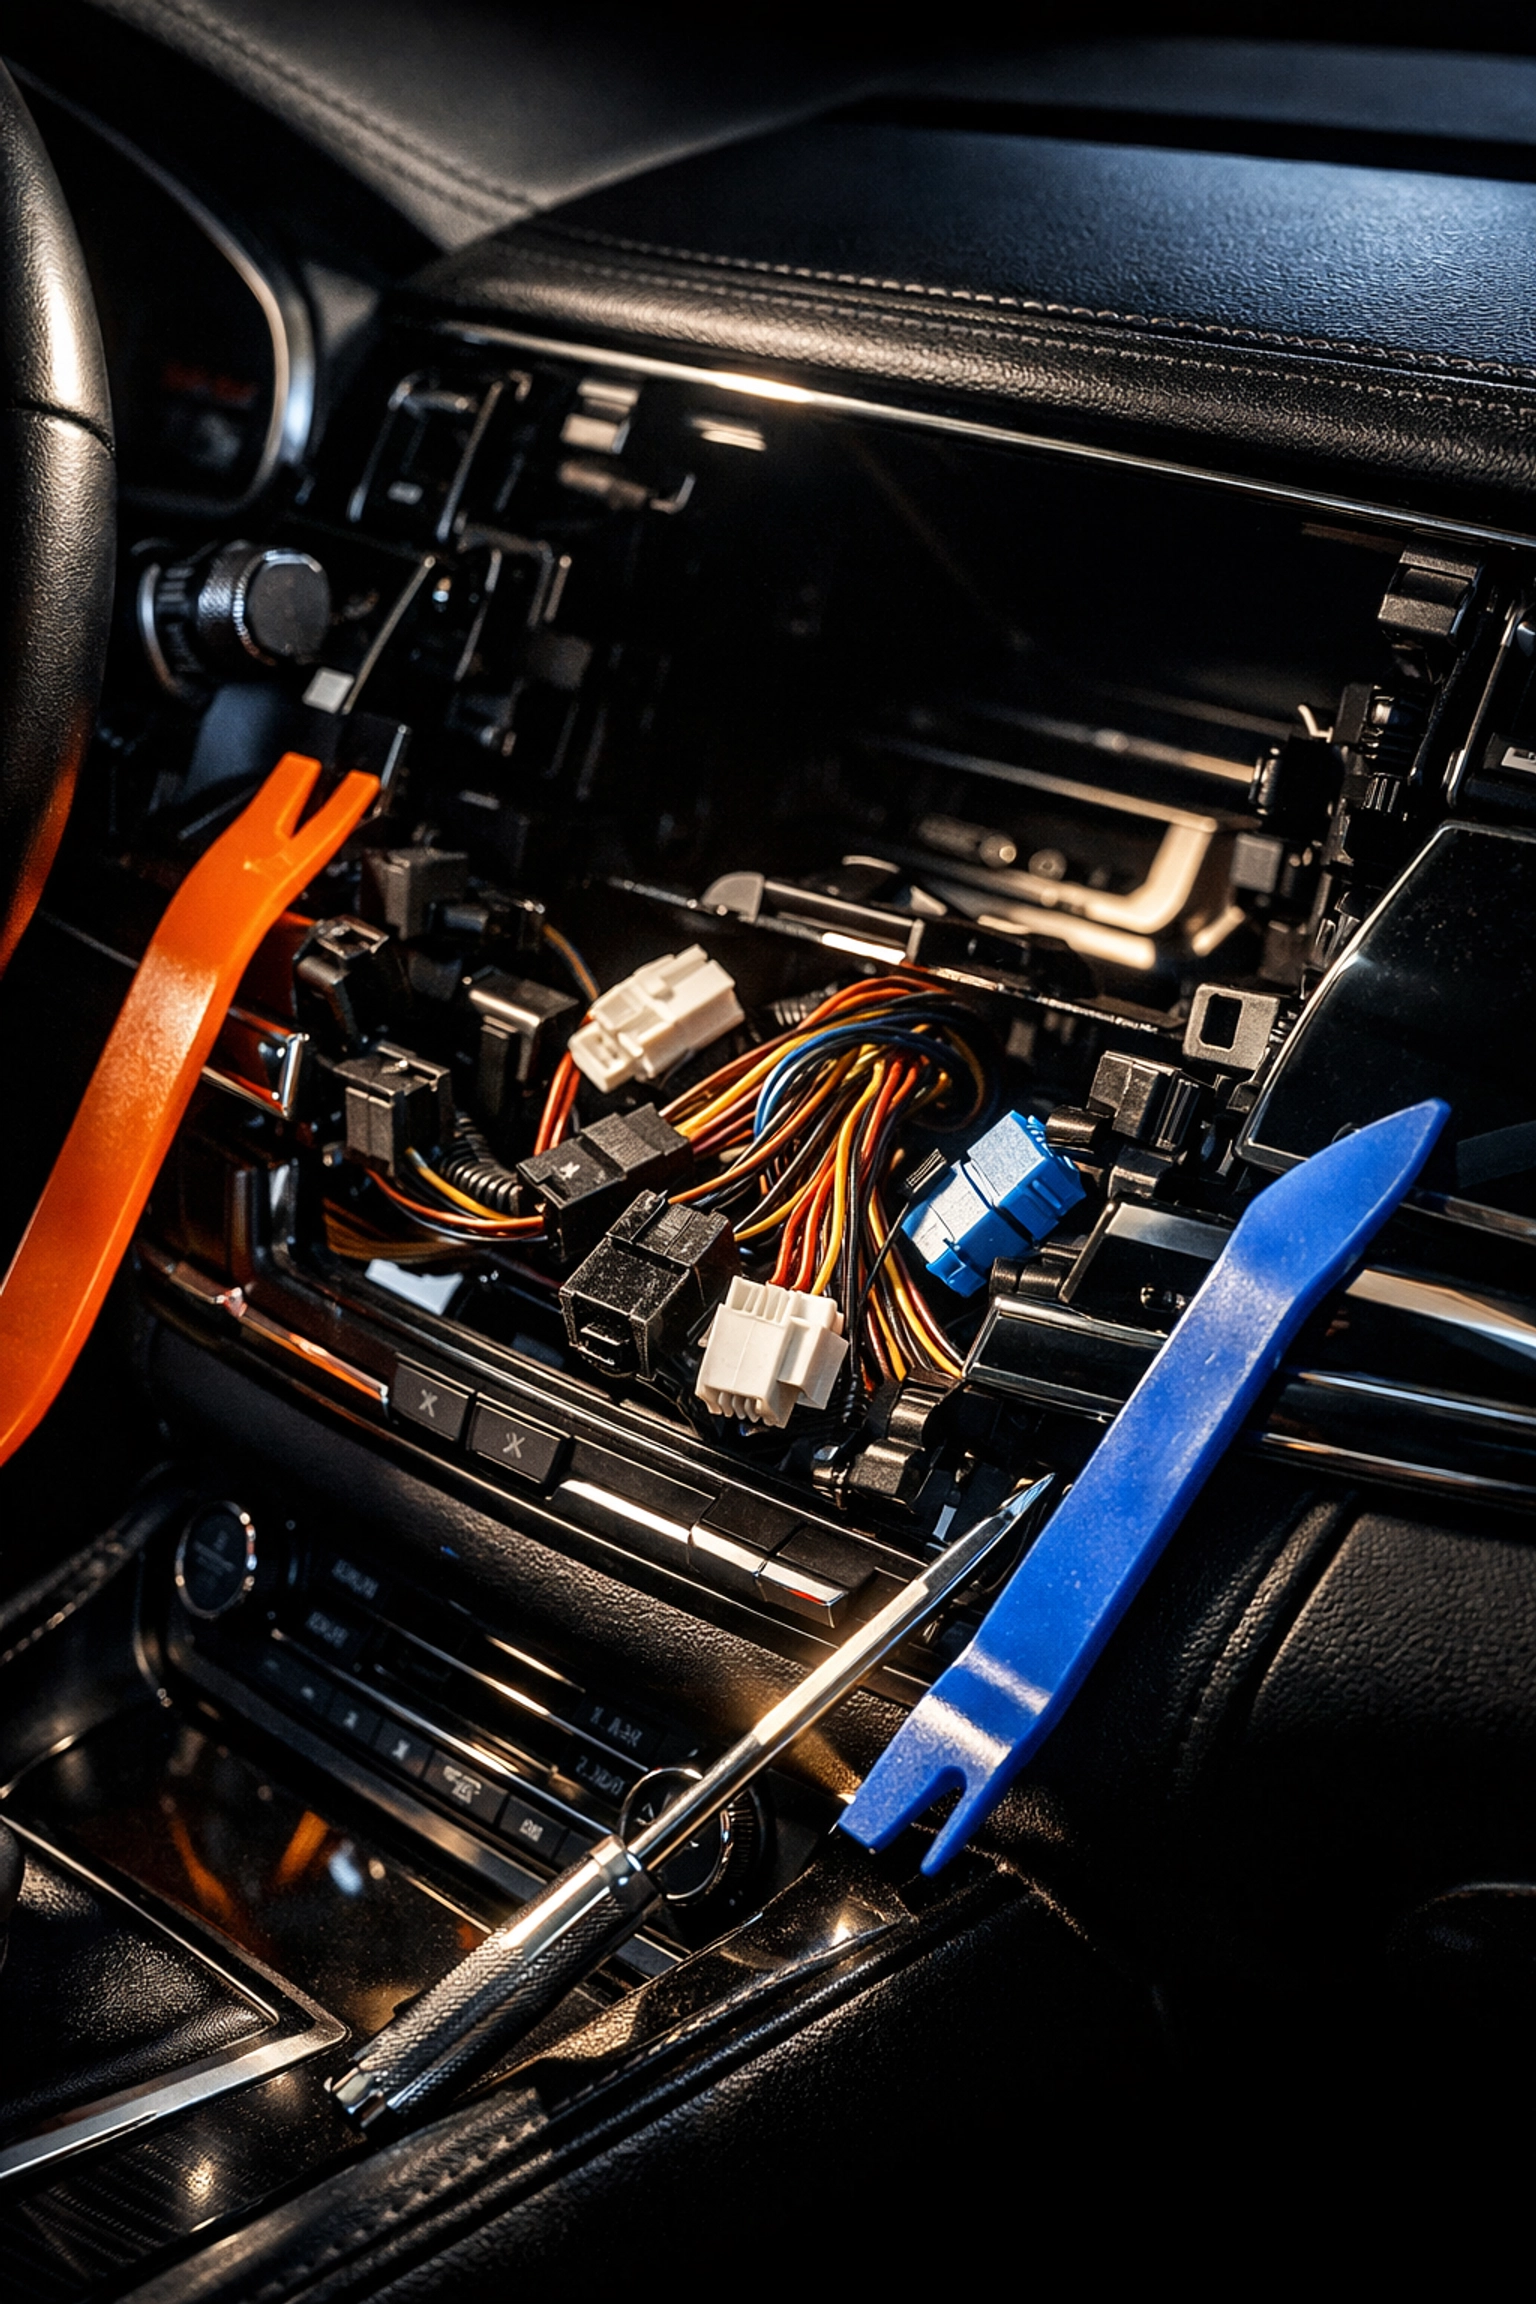
Head Unit Installation Process
Remove dash panels using trim tools. Start at bottom corners and work upward to avoid breaking clips. Keep removed screws organized by location.
Disconnect factory head unit electrical connections carefully. Note wire colors and positions for reference.
Install wiring harness adapter, connecting factory plugs to aftermarket harness. Attach antenna adapter if required.
Connect new head unit to wiring harness. Test connections before securing in dash. Verify all functions operate correctly.
Install dash kit and mount head unit securely. Reconnect battery and test all features including steering wheel controls and backup camera if equipped.
Speaker Installation
Door Speaker Installation:
- Remove door panels using proper tools
- Disconnect factory speaker connectors
- Install mounting brackets if required
- Connect speaker wires (verify polarity)
- Secure speakers with provided hardware
- Test speaker operation before reinstalling panels
Tweeter Installation:
Position tweeters in A-pillars, sail panels, or dash locations. Aim toward listening position for optimal imaging.
Run separate wiring to tweeters and woofers for component systems. Install crossovers in dry locations (behind door panels, under seats, or in trunk).
Verify all speakers are phase-aligned. Reversed polarity causes poor bass response and weak sound.
Amplifier Installation
Mount amplifier with minimum 6 inches clearance for ventilation. Overheating reduces performance and lifespan.
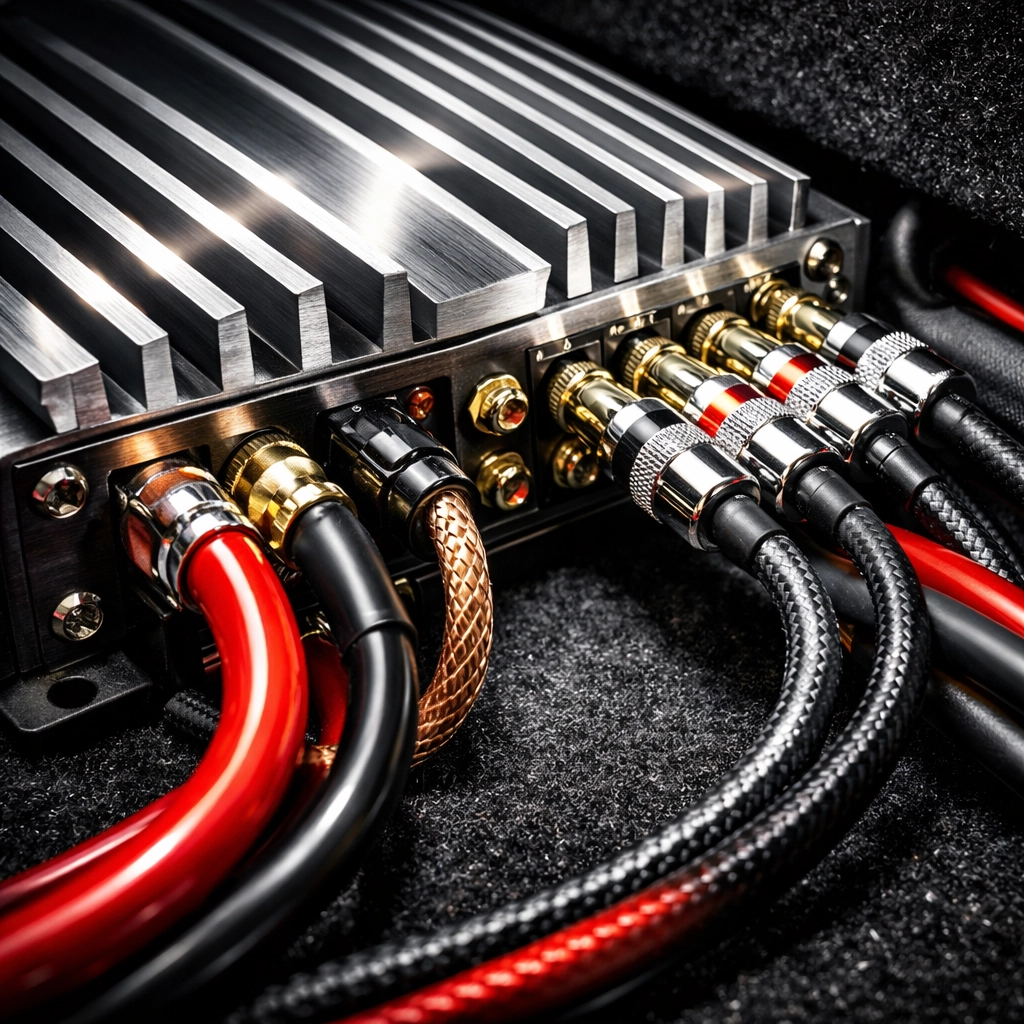
Power Wire Installation:
- Route 4-gauge power wire from battery through firewall
- Use existing grommets or drill new hole with grommet protection
- Secure wire along chassis away from heat and moving parts
- Install fuse holder within 18 inches of battery connection
- Connect to battery positive terminal
Ground Wire Installation:
- Use same gauge wire as power wire (minimum)
- Find clean metal chassis point near amplifier
- Remove paint to expose bare metal
- Secure with ring terminal and star washer
- Verify ground with ohmmeter (under 0.1Ω resistance)
Signal Wire Installation:
- Run RCA cables opposite side of vehicle from power wire
- Route through interior panels and under carpeting
- Connect to head unit RCA outputs
- Connect to amplifier inputs matching channels
Remote Turn-On Wire:
Connect remote wire from head unit to amplifier remote terminal. This powers amplifier when head unit turns on.
Make gentle curves when routing wires. Sharp bends damage wire insulation over time.
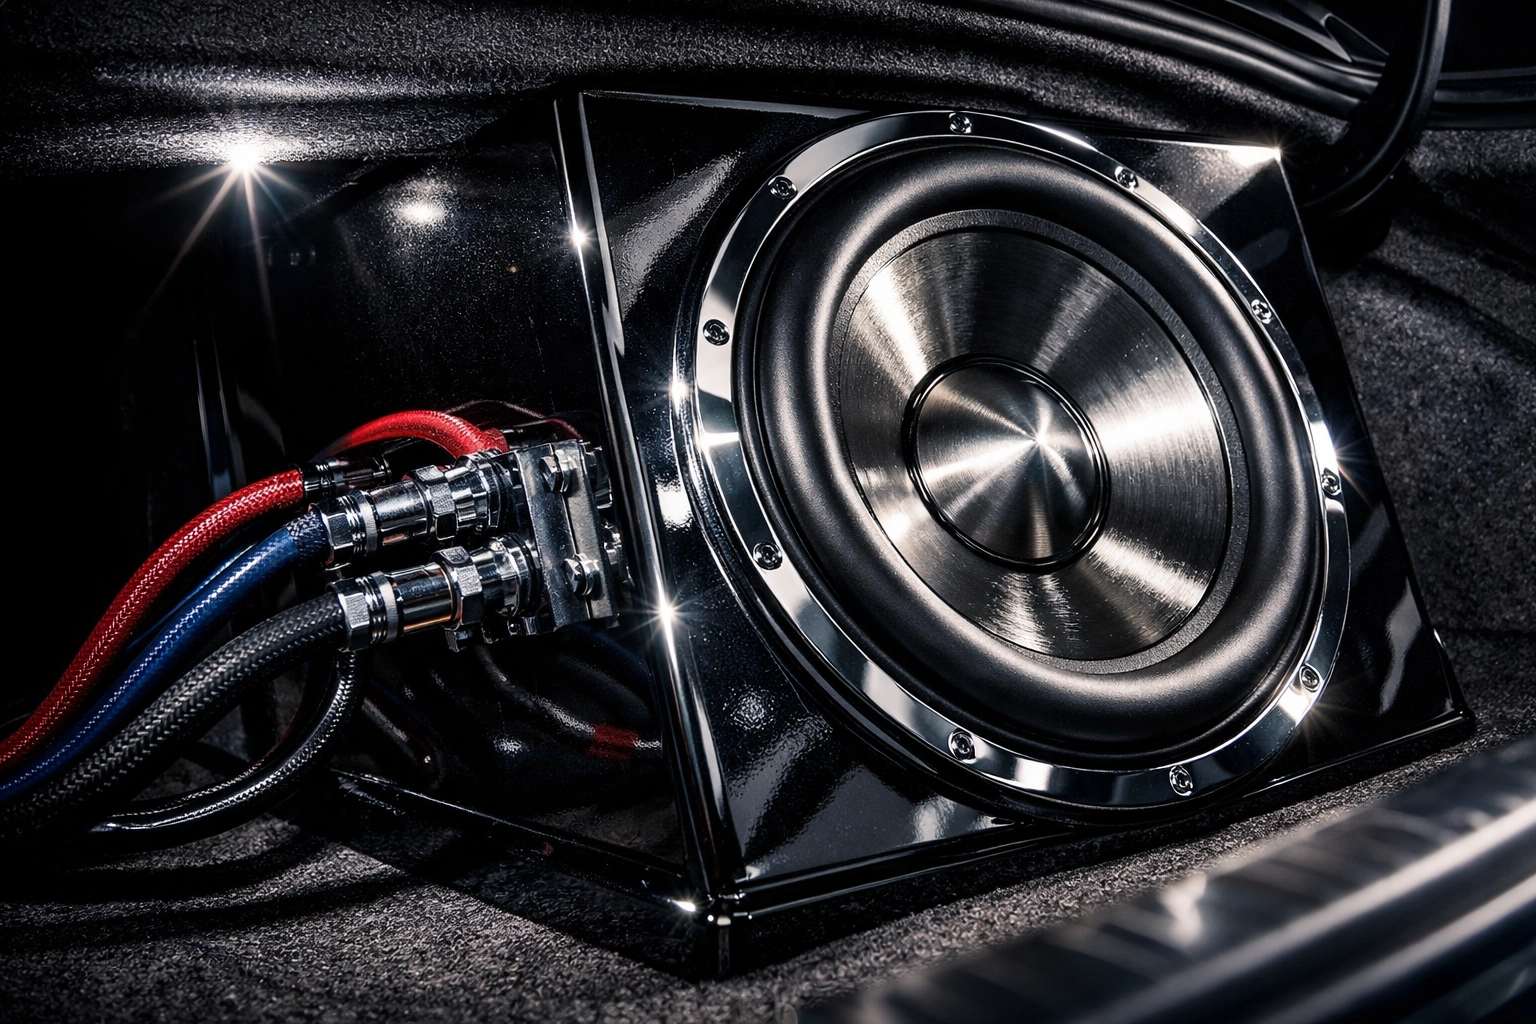
Subwoofer Installation
Secure enclosure in designated location. Trunk installations provide easiest access but reduce cargo space. Under-seat or custom enclosures save space.
Connect subwoofer to amplifier using appropriate gauge wire. Most subwoofers require 12 to 16-gauge wire depending on length.
Verify wiring configuration matches subwoofer impedance. Dual voice coil subwoofers offer series or parallel wiring options.
Route cables through concealed paths behind trim pieces. Exposed wires create safety hazards and poor appearance.
System Testing
Reconnect battery and power on head unit. Verify amplifier power indicator illuminates.
Play audio at low volume. Confirm sound from each speaker and subwoofer. No sound indicates wiring errors or blown fuses.
Check for distortion, rattles, or unusual noises. Secure loose panels and verify speaker mounting.
Test all head unit functions including radio, Bluetooth, and auxiliary inputs.
Post-Installation Tuning
Adjust amplifier gain settings. Set gain using multimeter method or by ear without distortion.
Configure crossover settings. High-pass filters protect speakers from low frequencies. Low-pass filters direct bass to subwoofers.
Set equalizer for balanced frequency response. Adjust bass, treble, and midrange to preference.
Test with various music types. Different genres reveal system strengths and weaknesses.
Make final adjustments for optimal performance. Small changes to crossover points and gain settings improve overall sound quality.
Nationwide Service and Support
DIY Customs Store ships car audio components to all 50 states. Free shipping applies to orders over $200. Browse complete selection at diycustoms.store.
Premium brands available include JL Audio, Hertz, and other industry-leading manufacturers. The outlet section offers discounts on scratch-and-dent items from top brands.
Professional installation advice available for customers nationwide. Online ordering provides fast delivery anywhere in the continental United States.
Final Verification
Document all settings including crossover points, gain levels, and equalizer adjustments. This information helps troubleshoot issues later.
Keep installation receipts and product documentation. Warranties require proof of purchase.
Perform final inspection of all connections. Loose terminals cause intermittent problems and poor performance.
Test system at various volume levels. Ensure clean sound without distortion at maximum listening volume.
SEO Keywords: car audio installation, custom car audio, audio system installation, amplifier installation, speaker installation, subwoofer installation, car stereo installation, DIY car audio, professional audio install
Meta Description: Complete checklist for professional car audio installation. Essential tools, components, and step-by-step installation guide. Free shipping over $200 nationwide.
Excerpt: Professional car audio installation requires proper planning and components. This comprehensive checklist covers pre-installation preparation, component selection, installation steps, and post-installation tuning for optimal sound quality.